Pinterest is supposed to be one of the greatest ways to get blog traffic. I’m not a Pinterest guru but I do get some traffic so I thought I’d share the ways I use Pinterest to gain views on my blog and a sneaky little trick I’ve learnt.
Pinterest Basics
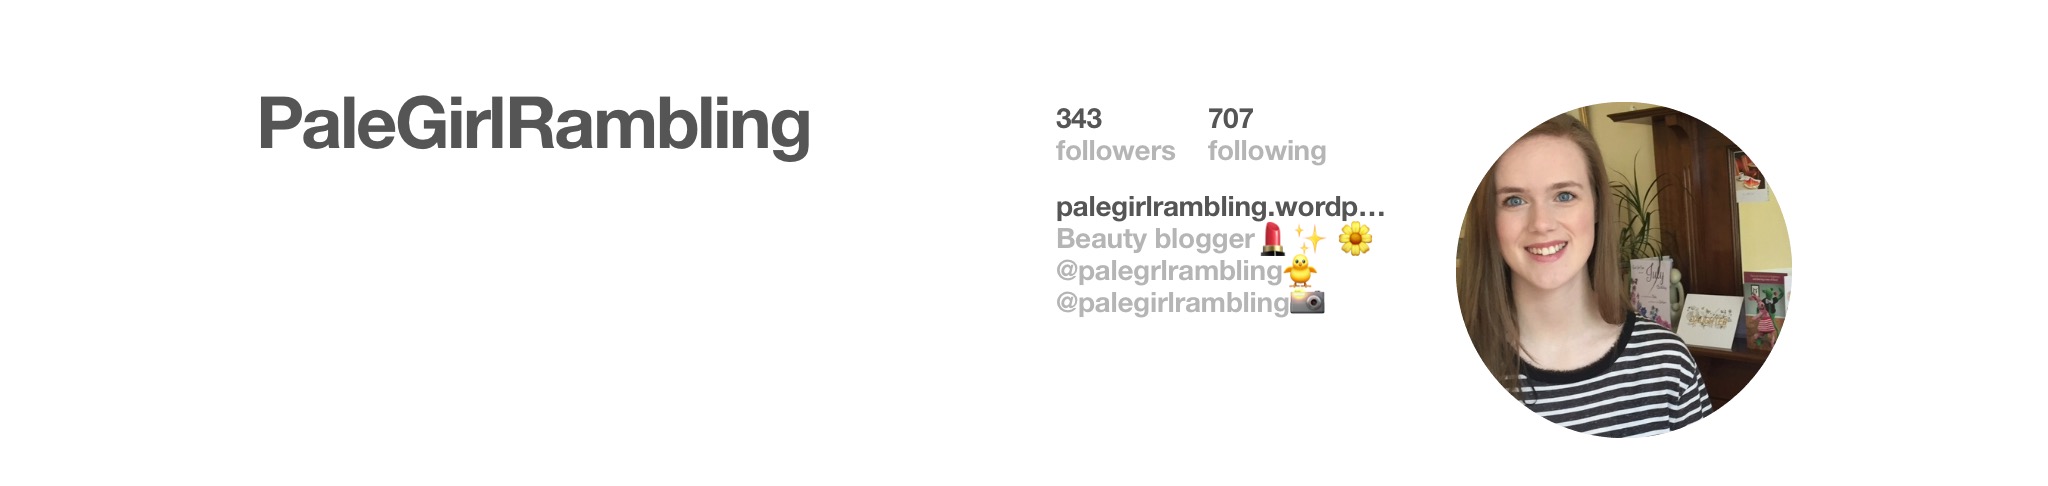
I firstly wanted to cover a few basics. Once you’ve set up your Pinterest account you should change it to a business account. (Pinterest has great articles to guide you through this, it’s really easy, don’t worry!) By changing to a business account you’ll be able to access your analytics to see how well your pins are doing. You should also make sure your ‘bio’ is up to date. Include your blog link and some information about yourself. Also include a picture!
The other basic is boards. Before I started blogging I loved creating boards like ‘wedding ideas’, ‘pets’ or ‘fun crafts’ but I’m a beauty blogger, no body wants to see that. This is where ‘secret boards’ come in. You can still have all these miscellaneous boards but by making them ‘secret’ only you can see them and they won’t ruin the asthetic of your other boards that are relevant to your blog and readers.
Finally make sure your social sharing icons are turned on. Whether it’s an installable widget or just the basic WordPress or Blogger sharing buttons, make sure it’s actually easy for people to pin your posts. Mine look like this at the bottom of each blog post.

How to create a pinable graphic
The next step is pinable graphics. There’s a particular size of graphic that looks great on Pinterest and the easiest way to make all your graphics this size and look the same is to use Canva.
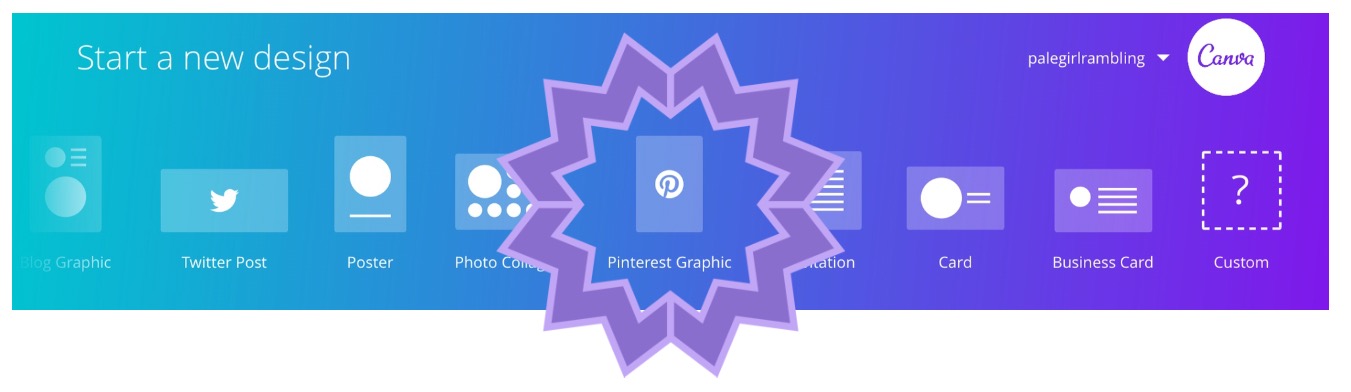
Canva has a specific Pinterest graphic tab. You can then make your photo the perfect size for Pinterest. You should also add eye catching font to let Pinterest users know what your post is about and make them want to click through and read your post.
Here’s an example of a Pinterest graphic I created using Canva. It’s the right size for Pinterest, I included a caption and finally I like to add my sign off so people know the post is from ‘PaleGirlRambling’.
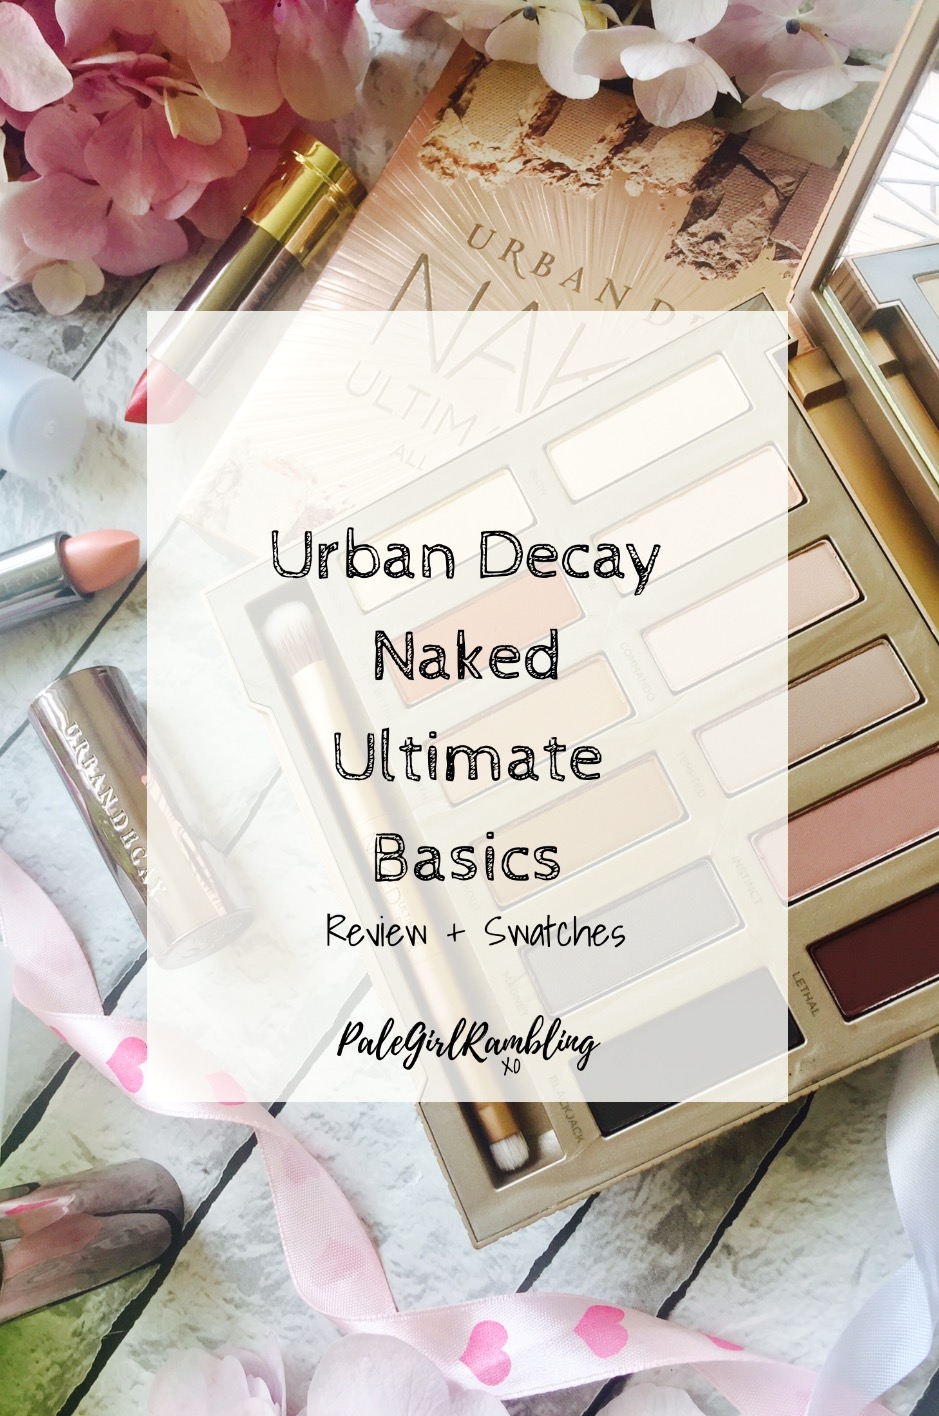
You caption doesn’t have to be the name of your blog post, use phrases that will draw readers in. (But ofcourse be truthful, nobody likes click bait)
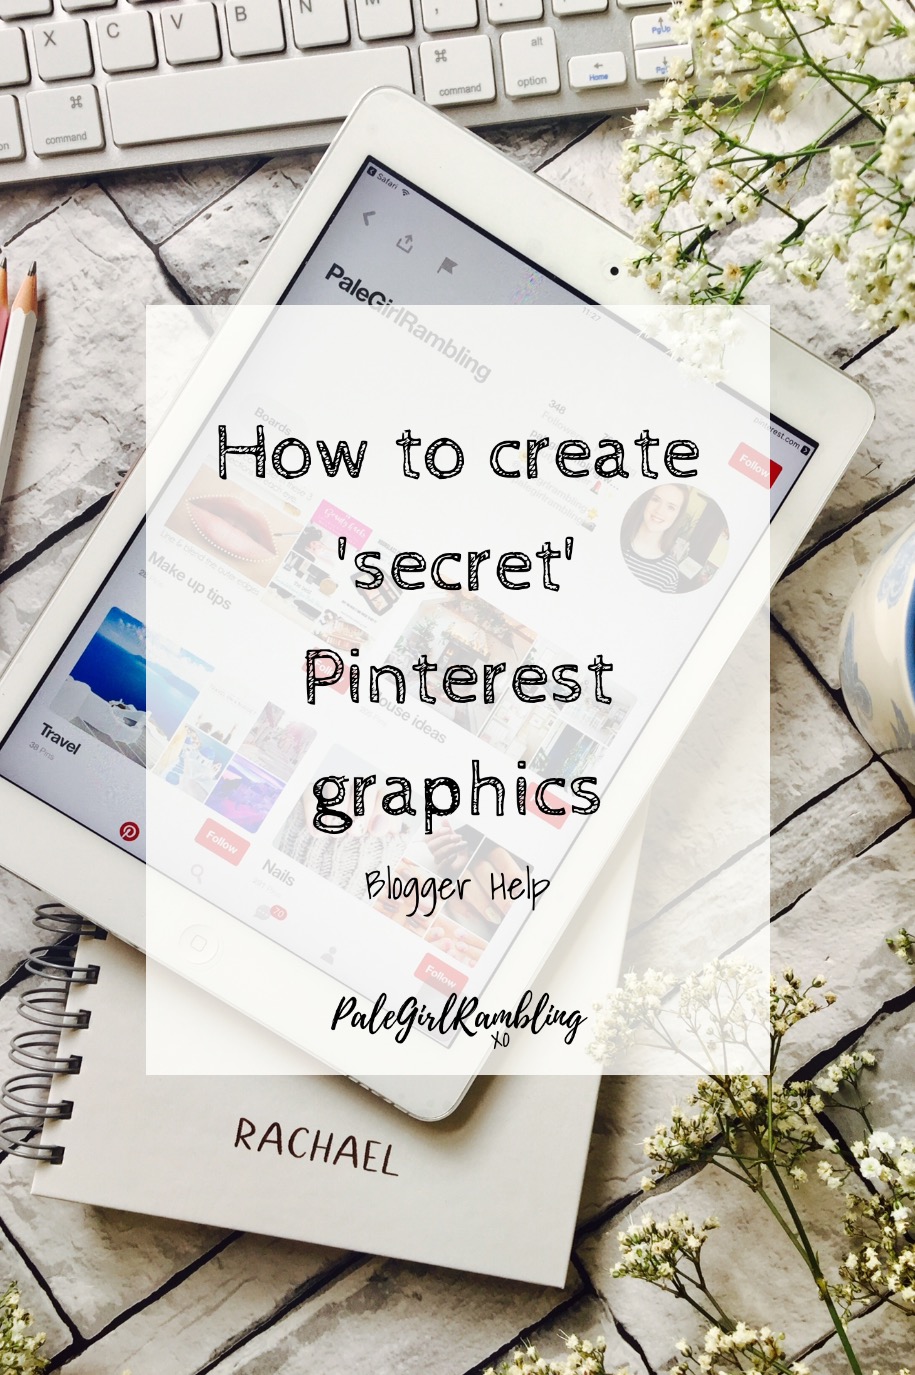
How to create ‘invisible’ Pinterest graphics
Now this was a game changer for me. I always stared enviously at people’s Pinterest graphics, they looked great yet when I clicked through to the blog post they weren’t actually there. You don’t actually want to see Pinterest graphics in the middle of a blog post, I personally think it ruins the asthetic. Beth Ashley kindly sent me a link to ‘icanbuildablog‘ who taught me how to create invisible Pinterest graphics using a very simple bit of HTML code. (Don’t panic, it really is simple!)
1. Create your Pinterest graphic using Canva and insert it at the bottom of the blog post.
2. Click on the HTML tab at the top and find the image code (don’t forget to change your ‘alt text’!)

3. Insert the HTML ![]() at the beginning of the image code.
at the beginning of the image code.
4. Insert the HTML ![]() at the end of the image code.
at the end of the image code.
Your image code should now look like this.

Once you’ve saved, click back to text view and your picture will have disappeared. If it’s gone then you’ve done it right!
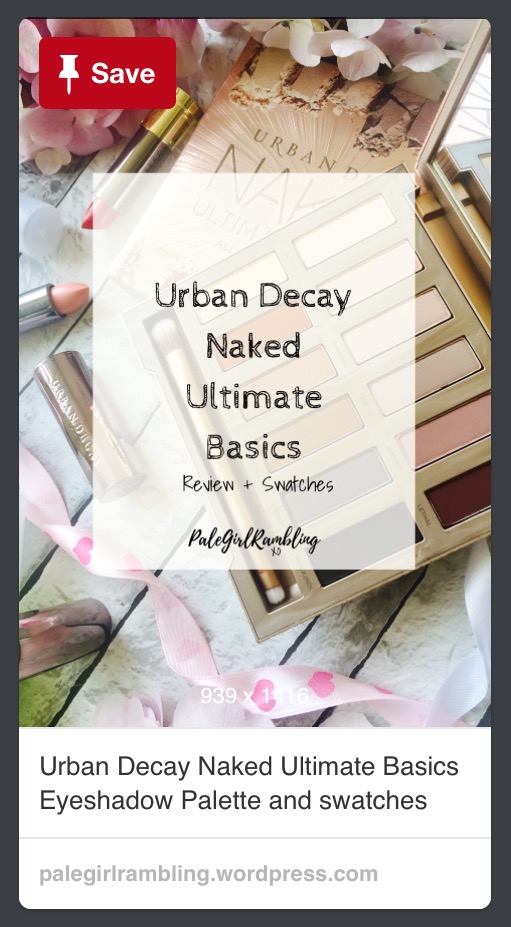
Now when people click ‘pin’ on your post the pinable graphic will appear like this but not be visible when people are reading your post.
Pinterest Group Boards
My final tip for bloggers is to join blogging group boards. You can then repin your nice new graphics into group boards for other to repin. Pinterest isn’t all about gaining followers like other social media sites. You should put more of an emphasis on repins. The more repins a graphic gets, the greater your reach and the more likely people are going to click through and read your post! I run a blogger group board, if you’d like to join then please leave your Pinterest link in the comments and I’ll add you!
I hope these few Pinterest tips have helped give you a few ideas on how to start using Pinterest to gain views on your blog. Obviously these are just a few things and there’s hundreds more ways, these are just one’s that have helped me!
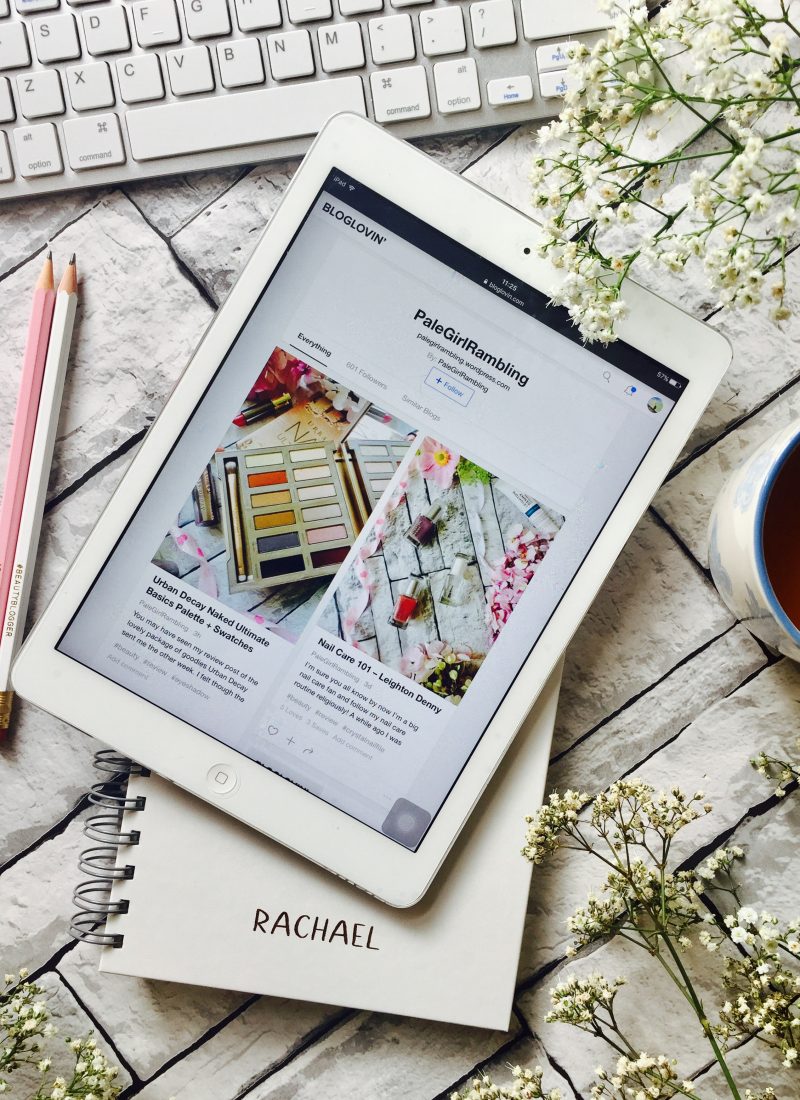
If you found this helpful don’t forget to check out my other Blogger Help posts on Bloglovin, flatlay Photography and a few other topics.
*Disclaimer- I am by no means a computer or blogging genius, I just created this post to help other bloggers like myself who don’t understand jargon and want to learn some blogging basics*


Great blog post, I love your blog so much
http://www.kayleighsblogs.wordpress.com
This is so useful, Ive never even heard of the secret image trick so Ill be giving it a go!! Im still massively learning how to use pinterest, but I would love to be part of the group – it’s my first one so bare with! My pinterest is http://www.pinterest.com/sazsinclair
Sarah xx
Sorry for the late response, so glad it was helpful! I’ve just sent you an invite to join the group!
PaleGirlRambling xo
Could I be part of the group please my Pinterest is https://Pinterest.com/catherine_93 x
Sorry for the late response! I’ve just sent you an invite to join the group!
PaleGirlRambling xo
Ahh this is so helpful! I just don’t get Pinterest and I’m so glad I read this. Thank you! x
Loved these ideas! I’m not a Pinterest user, but this post has definitely made me want to try it out!
Great post, your blog is so helpful! I love Pinterest, could you add me to that bloggers board? My Pinterest is http://www.pinterest.com/lovesoph_
Sorry for the late response, so glad it was helpful! I’ve just sent you an invite to join the group!
PaleGirlRambling xo
This is such a handy post! I need to start utilising bloglovin’ and Pinterest more so I’m definitely gonna take some advice from this post!
Emma | emmadrury.com ✨
Honestly I found this post so insightful and helpful! Thank you for sharing this. I’ve been trying to figure out how to utilise Pinterest for my blog for ages and now it makes sense. Hope you have a lovely day!
Tallulah x x
http://www.lovetallulah.com 💖
I need to start using Pinterest it looks so lovely! Great post xx
http://www.laurenannbeauty.com
What an amazing post! It’s really really helpful, I’ve always wondered if u could do secret pins! Thank you for sharing your tips I’m definitely going to use them 🙂 Clare xx | Clayaa.com
And also, could I be added to the Pinterest board please? 😁 my email is clayaa@outlook.com xxx
So glad it was helpful! Sorry for the late response, I’ve sent you an invite to join the board – let me know if it worked or not because I’ve never added someone by email before just through their Pinterest
PaleGirlRambling xo
[ Smiles ] Thank you for teaching us how to use Pinterest as a blogger.
Wow – great information in here! Thank you so much for posting this!!
A- https://simplylovely90.wordpress.com/
I really need to get into using Pinterest I always hear how fab it is for traffic! Love this little guide it’s so simple to follow!
I had no idea about hiding graphics! I’ve just been adding them in, pinning the graphic and then removing them from the post 🙈
Hannah @ The Northern Writes | http://www.thenorthernwrites.co.uk
These are some great tips!! I’ll have to try them out as I’m trying to grow my Pinterest engagement xxx
Jamie | Jamies-corner.com
Already started taking some tips and acting on them
Thanks so much for the helpful tips I never knew about invisible pictures before and think this is a great way to draw readers in. I know that I really need to step up my Pinterest game because I have heard so many good things about gaining readers from Pinterest but I just don’t know how to going about it. Thanks so much for sharing and I look forward to reading more posts from you in the future.
megan // mysprinkleofprep.wordpress.com
This was so informative! I actually have a question about one of the things you mentioned – should I email you?
Yes ofcourse! Just pop me a wee email to palegirlrambling@hotmail.com and I’ll try and answer any questions you have!
PPaleGirlRambling xo
This is really helpful! I’ve been trying to figure out how to create a secret image for ages!!
I do love Pinterest, but often struggle to get my head around it, so thank you for your tips! x
I was literally thinking about this today, and how I have no idea how to use it aha! Most definitely will be now, such helpful advice x
This post is so helpful I was so lost at using Pinterest thank you!
Nice tips. I was especially, looking for how to add default pins on the post.
The hidden image trick should do it! 🙂
Hi, great tips I am a tad rubbish at Pinterest if I’m honest. I need to join some groups and make a real effort especilaly as I’ve finally got pinable images.
I found this really helpful. I love Pinterest but don’t think I make enough use out of it for my blog so I’m going to start trying your tips and get Pinterest perfect! xx
I love Pinterest! My fav social media even before Instagram! And getting few followers now so that’s good! We have pinterest graphics but not invisible ones so thanks for the tips! groups are also really helpful! xx corinne
I’m still a complete beginner when it comes to Pinterest but this post will help me for sure. Saved to my favourites!
Heather xox || http://www.xhighlandbeauty.co.uk
Pinterest seems to be such a useful social media for bloggers yet I’ve always struggled with it! Recently I’ve started trying to use it more for my blog promotion and it seems tonne working well but I’ll definitely be using some of the tips you’ve covered here!
Ellie
http://www.headintheclouds.me.uk
I love pinterest so much. I mainly use it to pin cute photos but I want to learn more about it. These tips are really helpful. x
Antonia || Sweet Passions
I started using Pinterest a while ago but I gave up since I didn’t find it intriguing and I didn’t know anything about it. Interesting post and that helped me a lot!! x
Yiota
PinkDaisyLoves
I’m not a big Pinterest user but these tips will definitely come in handy when I work on my Pinterest graphics! Great post x
Ashleigh | http://ashleighwrites.co.uk
Awesome post! I’ve actually noticed more clicks from Pinterest lately as I’m learning how to finally work with it. Something I haven’t done is join too many group boards. My Pinterest name is Makeup Mosaic if you would like to add me to your group!
This is so helpful. I’ve struggled with working connecting my blog to Pinterest, so thanks for the tips!!
Ahhh every time I read one of your posts I learn something new. Honestly in love with your posts! I’m going to get working on my pinterest now because I’ve definitely been neglecting it!
whatevawears.co.uk
This is the sort of post I need. I’m rubbish at coding. I’ll be remembering this one. Thanks!
Super helpful post. I am not active on Pinterest, but I am going to try now. Bookmarking this for a thorough read again.
Aditi
Really useful post xxx
This post is so helpful! I’ve wanted to get into Pinterest for ages but starting a new platform is always a bit daunting. I’ll definitely be referring back to this post in the future!
This is so good! I’ve wanted to get into Pinterest but was a bit unsure of how it all worked, will definitely be coming back to this when I have the time. It’s so helpful! Xx
https://allaboutamy.uk
This is super helpful – I’m really trying to get my head around Pinterest at the moment and figure out how to make it work for me. Will definitely be using some of these tips!
I love Pinterest, but I must admit that I don’t really do any of this! I must start joining more group boards!xx
Hannah | luxuryblush
Such a helpful post, I’ve been struggling with blog traffic so this will definitely help me xx
Loved this post! Just got back into Pinterest and it’s a bit alien to me at the moment! This has really helped 💕
These are such great tips! I don’t really use my Pinterest enough to actually promote my blog! I’d also forgotten all about Canva and how useful that is for blog tips, so I’m definitely going to have to revisit to create some new blog graphics!
Kate x
http://www.findingkate.co
I’ve never used Pinterest to promote my blog, but after reading this I might give it a go! I’m basically on Pinterest all day every day so it only makes sense to promote there too haha xx
Great post! Especially excited to learn about the invisible graphics! Thanks for all of the info😍
I love this post. I’m just learning about the benefits of Pinterest for my blog after using it personally for years. I would love to join your group.
Mine is https://au.pinterest.com/emmaphilpottblog/
So glad it was helpful! Sorry for the late response, I’ve sent you an invite to join the board!
PaleGirlRambling xo
What a great post, I had never heard of secret pibterest image either- will definitely be trying this 🙂
Jen xx
I started using Pinterest for my blog a while ago, but I honestly have no idea what I’m doing. I just pin my own posts and that’s pretty much it. Thank you for the tip on hiding Pinterest images in your blog posts – I agree that it ruins the aesthetic, but I had no idea there was another way! I would also love to be added to your blogger group board, if you’ll have me. 🙂 My link is pinterest.com/TGIFreya. Thank you for writing this post, it’ll definitely help me up my Pinterest game.
xoxo
Freya
tgifreya.wordpress.com
Awww Freya, Thankyou for such a lovely comment! I’ve sent you an invite to join the group board!
PaleGirlRambling xo
How awesome is this post! This week I started entering Group Boards, untill then I didn’t knew what that was. I would love to enter yours, here’s my link: pinterest.pt/carolynnnaaamp
Carolina’s Makeup Life
Omg this is such a good post! Thank you for teaching me how to make the invisible pinable images! I never knew how to do it, but I love it 🙂 xxx
Melina | http://www.ivefoundwaldo.com
What a fantastic summary. I’ve always been mystified by pinterest but will maybe give it a go now.. Cheers..
This is such a good post. I really need to make better use out of my Pinterest.
http://ohduckydarling.com
good post
Thank you, thank you, thank you! I never knew about secret pinterest graphics, it’s going to make a world of difference and make all my blog pins SOOOO much more professional 🙂 x
Thanks for sharing this !! 💋
This is a great post. Literally just changed my account to a business one 🙂 xx
Jacqui – allthingsjacqui.com
Hi, I am a tad rubbish at Pinterest this article is really helpful I had no idea about invisible graphics. I’m bookmarking this post as its so helpful.
Hi,
This is really helpful, I would love to join your group board 🙂
http://www.pinterest.co.uk/fivefeetandoneinch
So helpful, love your blog! X