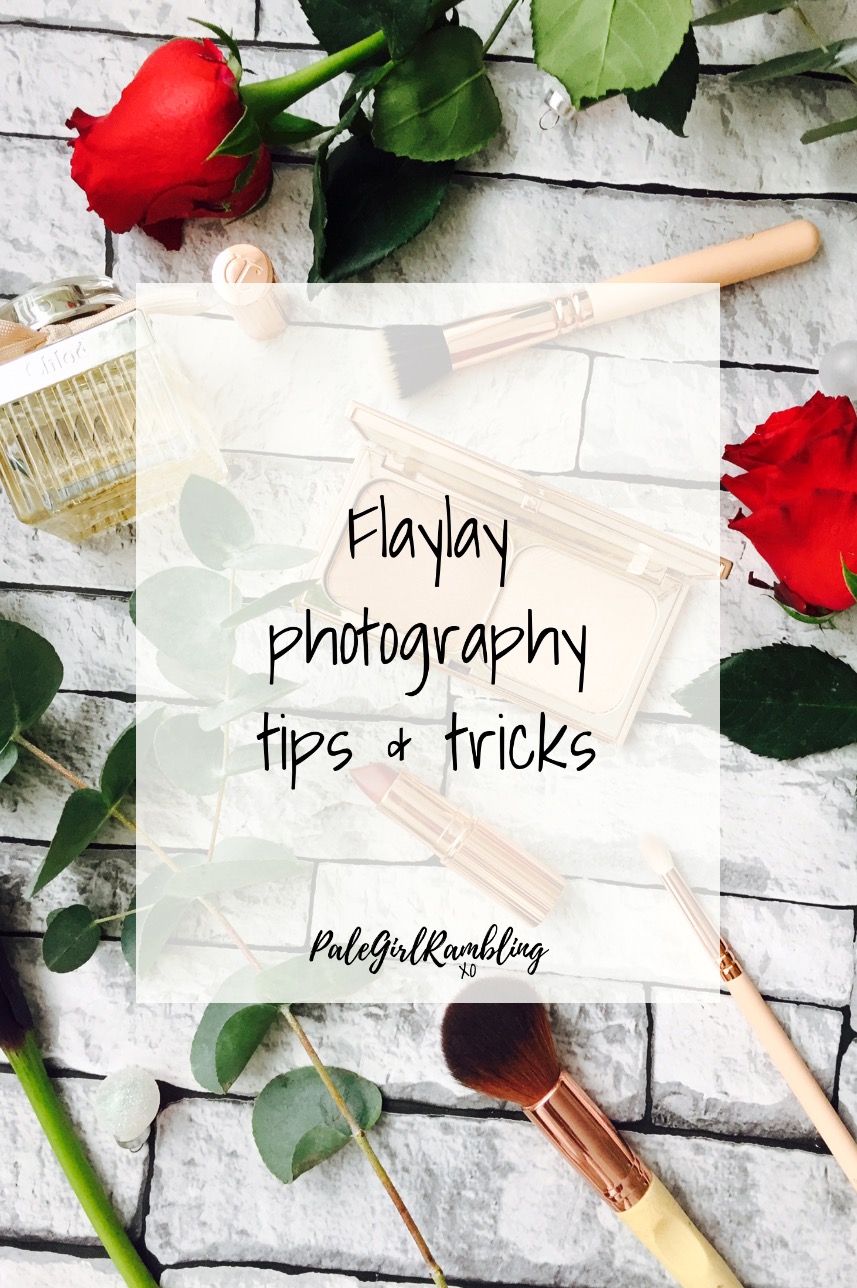
I want to start this post by saying that I am by no means a photographer. To be honest I’m never happy with my photos! That being said I get compliments on my flatlays and lots of questions on how I create them so I thought I’d do a little post of tips on how to master the art of flatlay photography. I think photos are one of the most important things when blogging. Obviously being able to write a blog post is an essential too but I personally get attracted to a blog post if I see a gorgeous photo of a product on social media and this makes me want to click and read all about it.
Camera
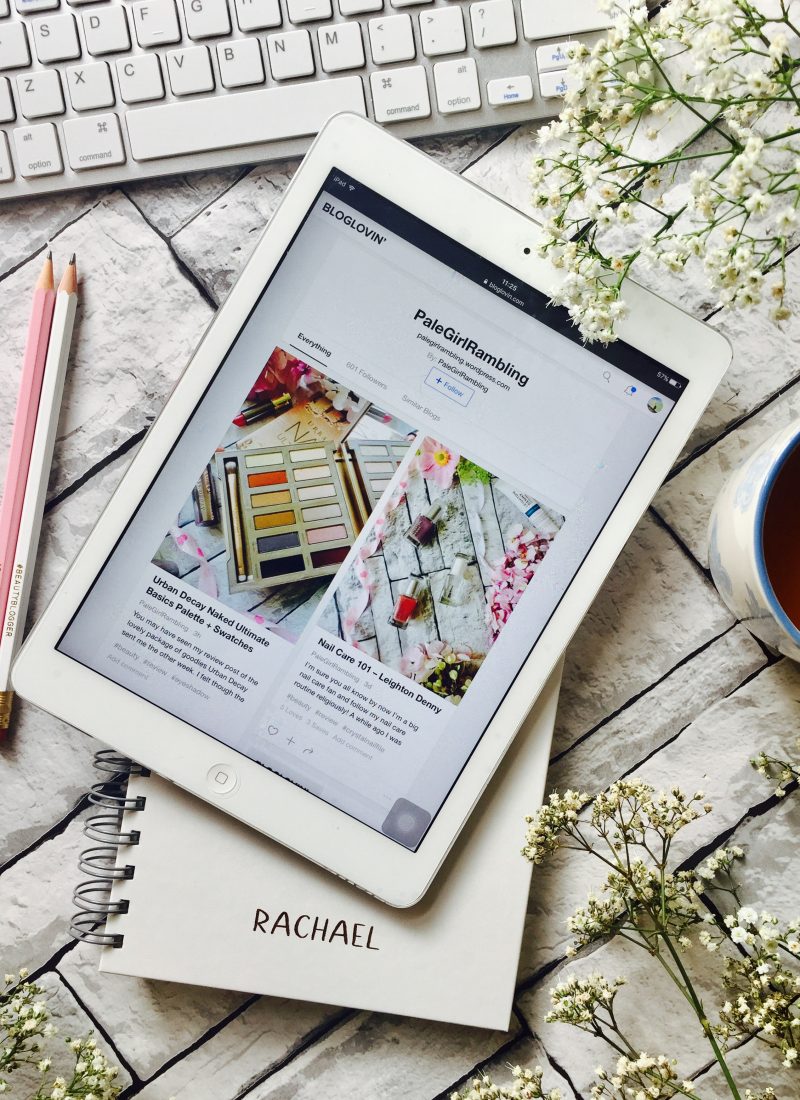
Obviously having a good camera helps, I’m currently saving up to treat myself to the new Panasonic Lumix 4K CSC Camera. That being said, all photos on my blog are taken using my trusty (and well loved) 3 year old iPhone 6 so you don’t need a fancy camera to take pretty flat lays! Fancy camera’s help, yes, but you don’t actually need one.
Backgrounds
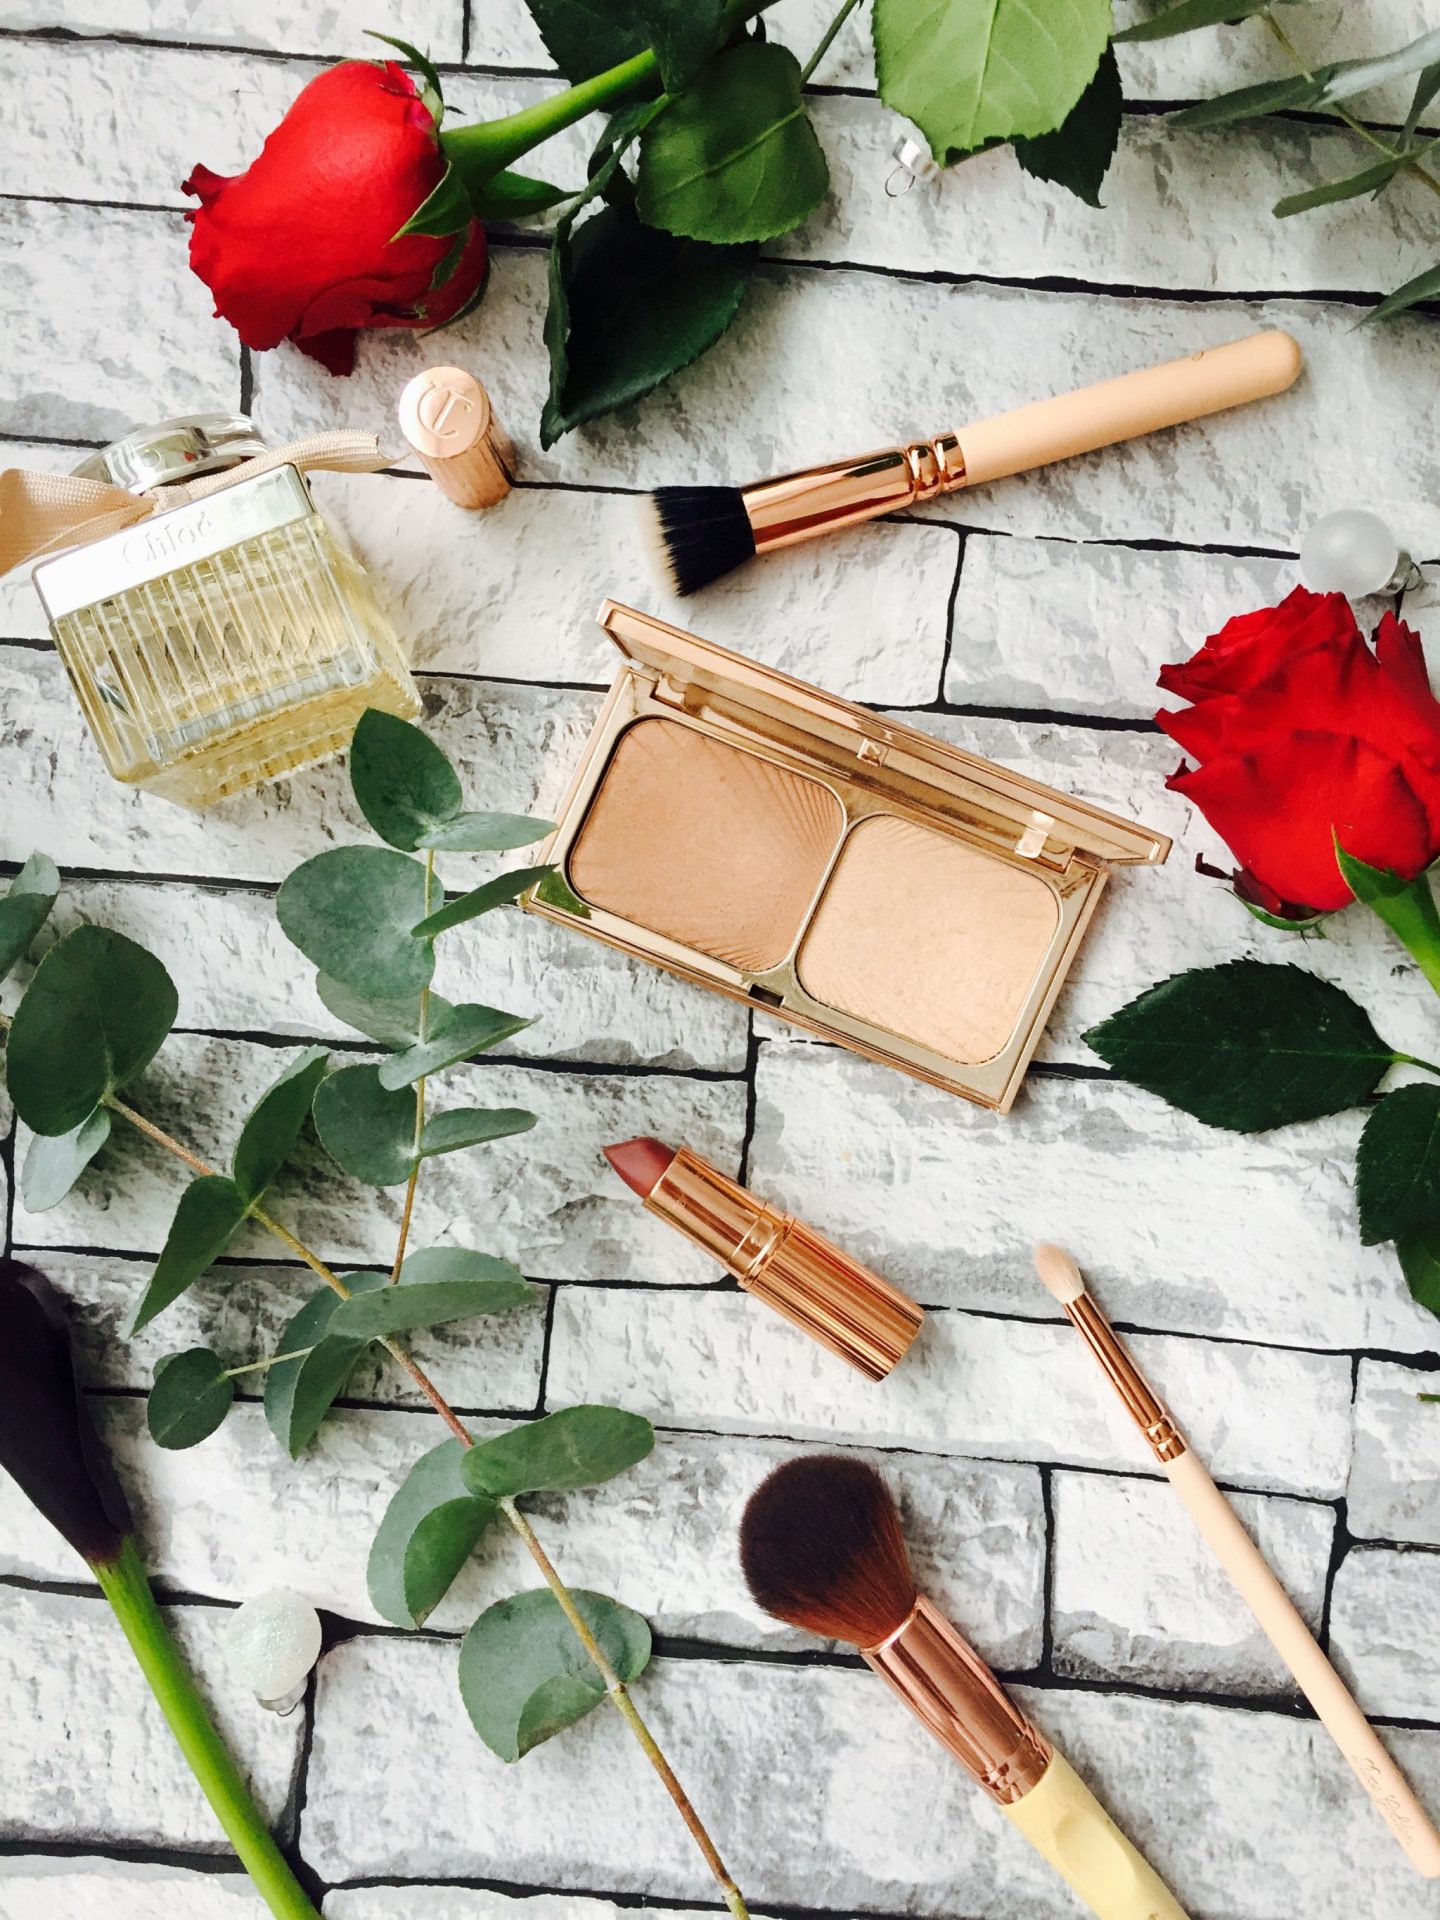
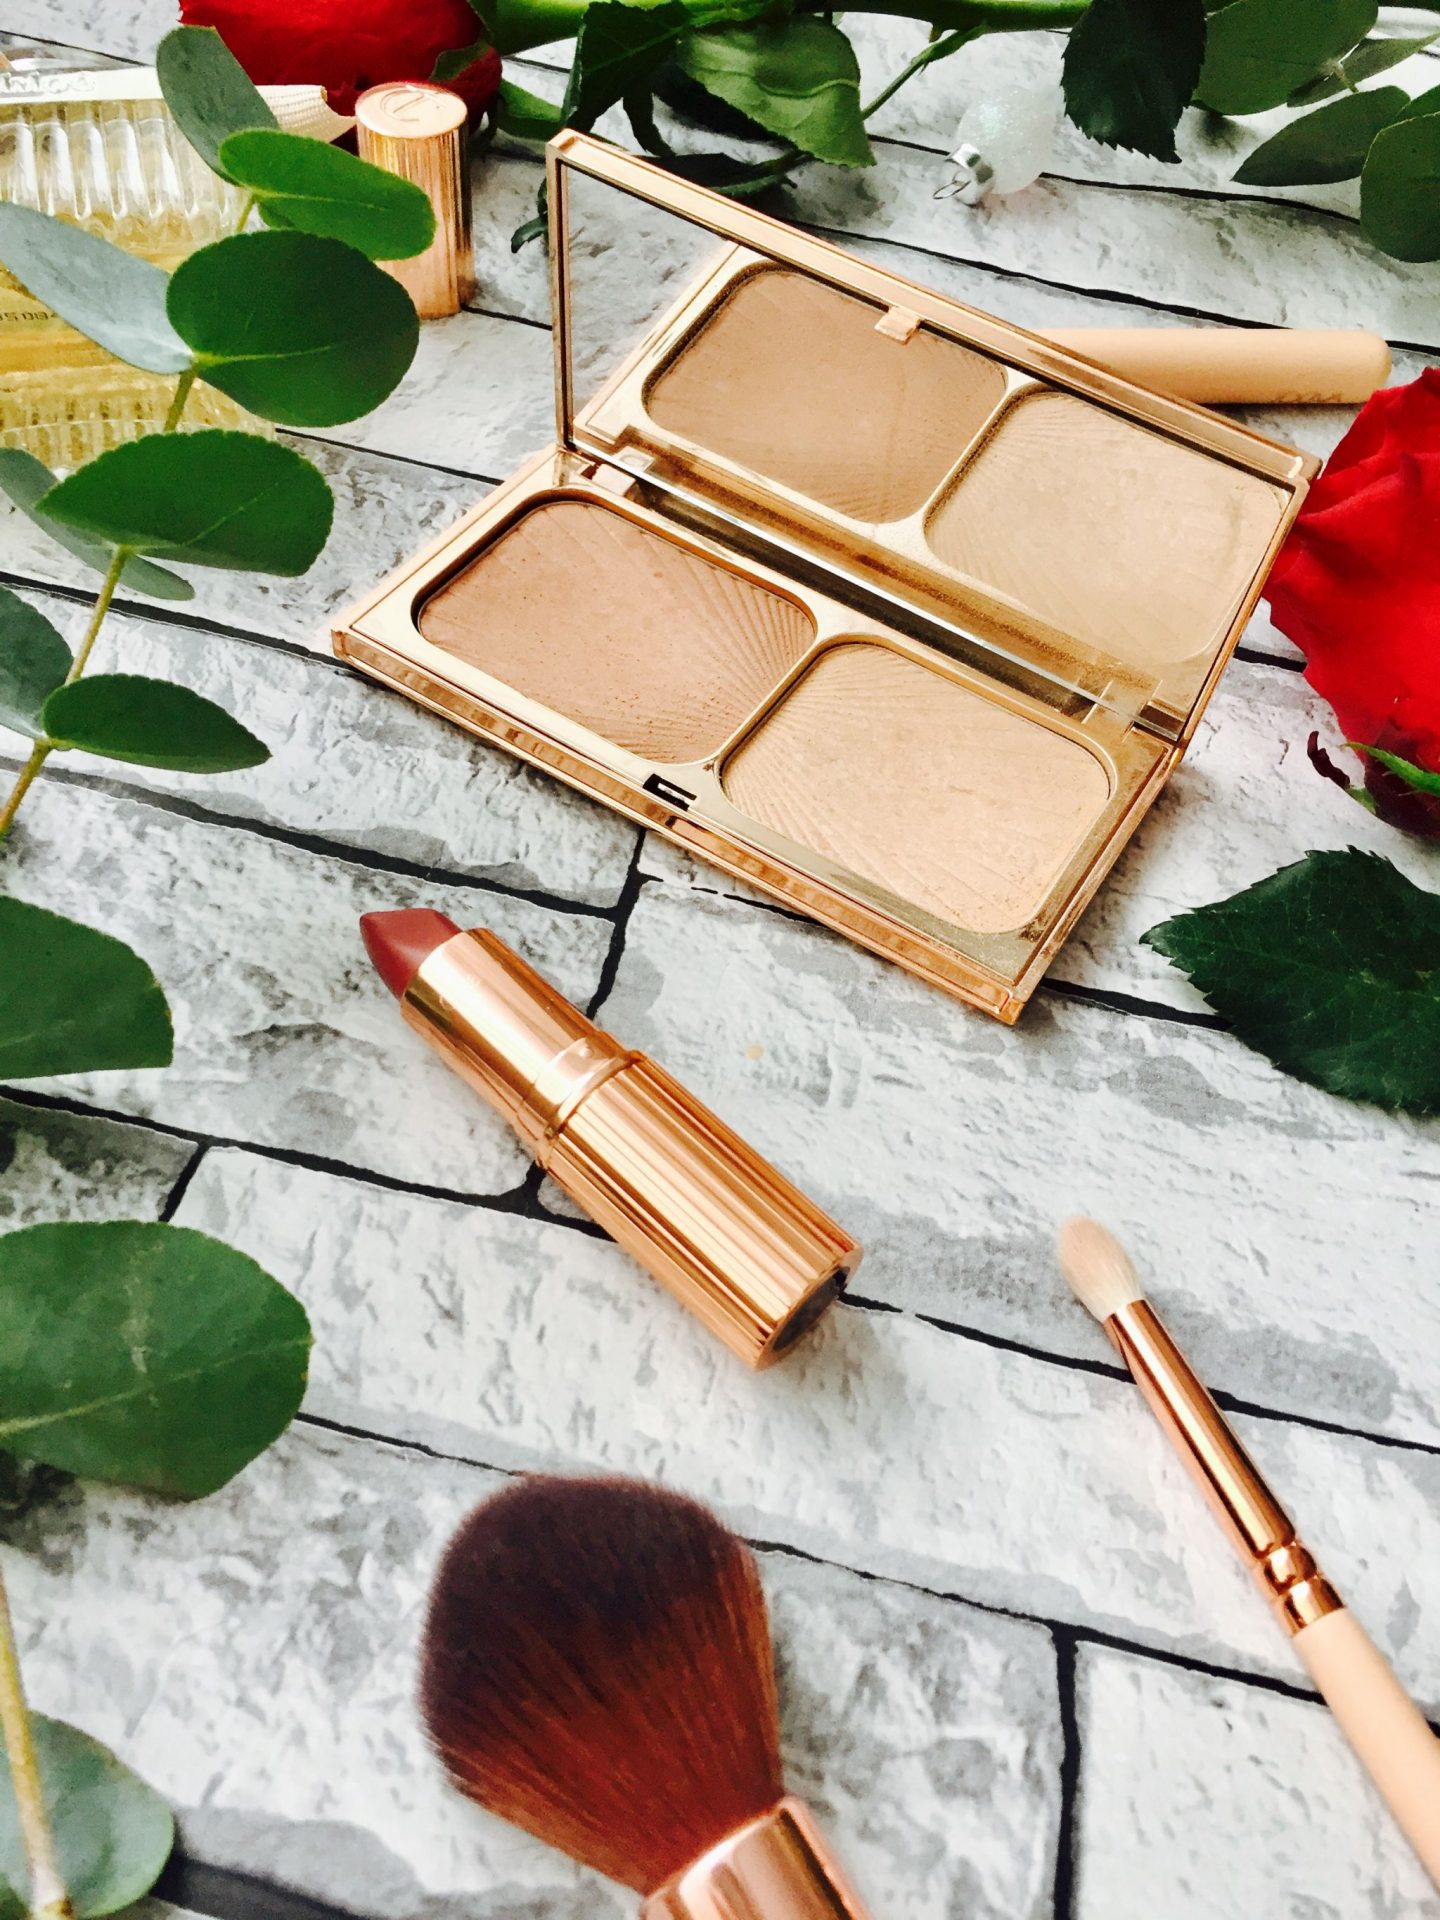
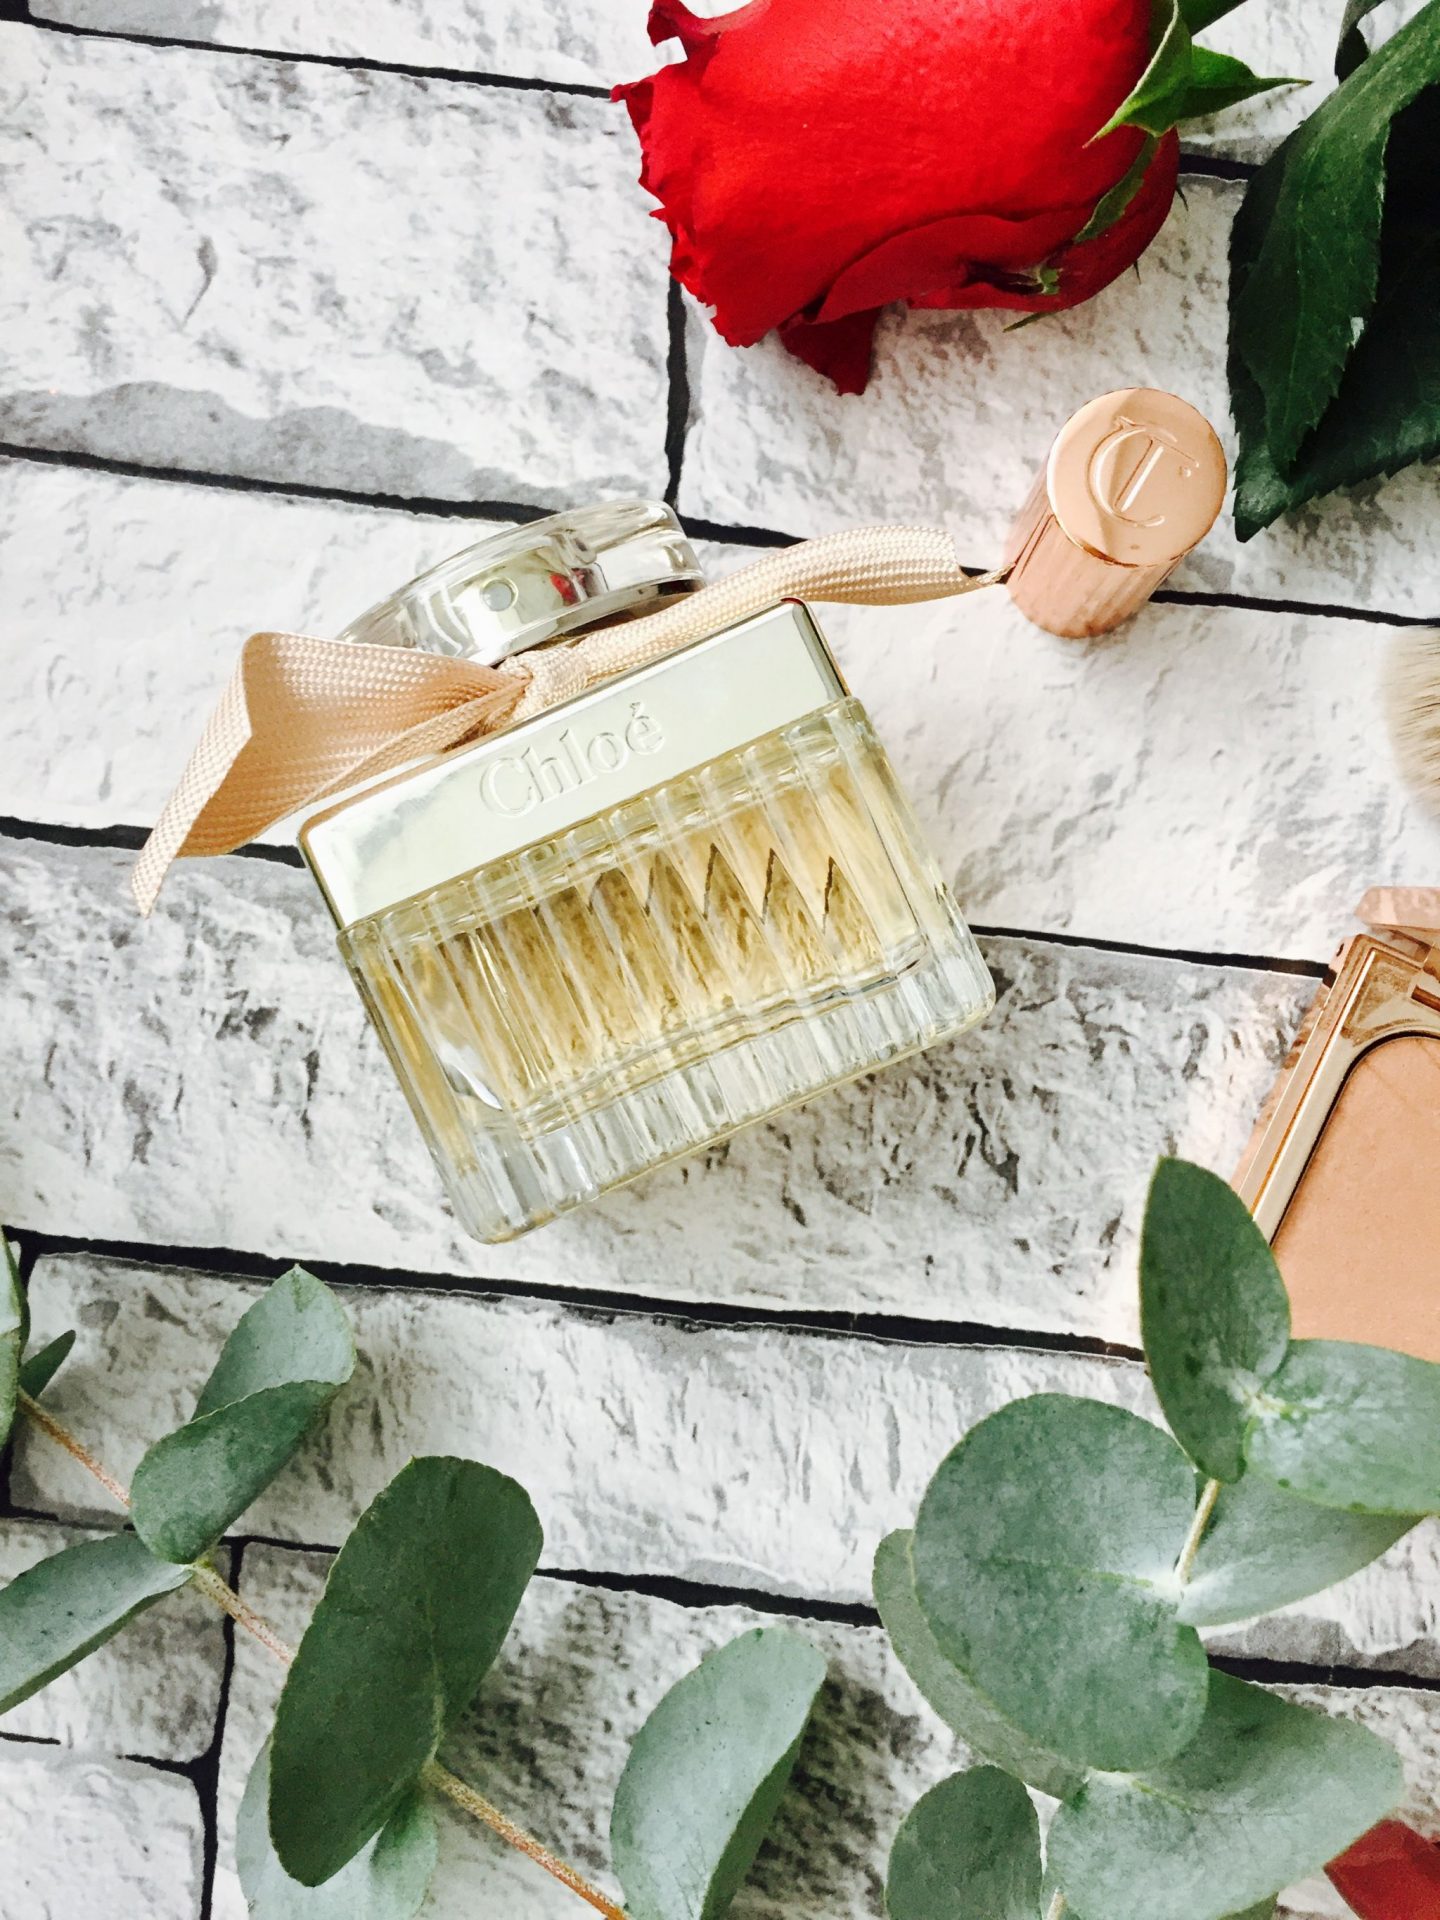
If you follow me on Instagram or are a reader of my blog you’ll know my trusty little brick background. I personally love it because it’s simple, effective and creates continuity between all my social accounts. Even my media kit uses the same background!
Backgrounds are important but don’t need to break the bank. You can use a few planks of wood, wallpaper like I do, a clean white duvet cover or white board. Or of course some marble (a huge blogger favourite) you don’t need to break the bank and buy a huge slab of marble though, all you need is a bit of board and some adhesive paper that you can get off Amazon, so get creative! I personally think less busy backgrounds work better though, as there’s more emphasis on the products then.
Props
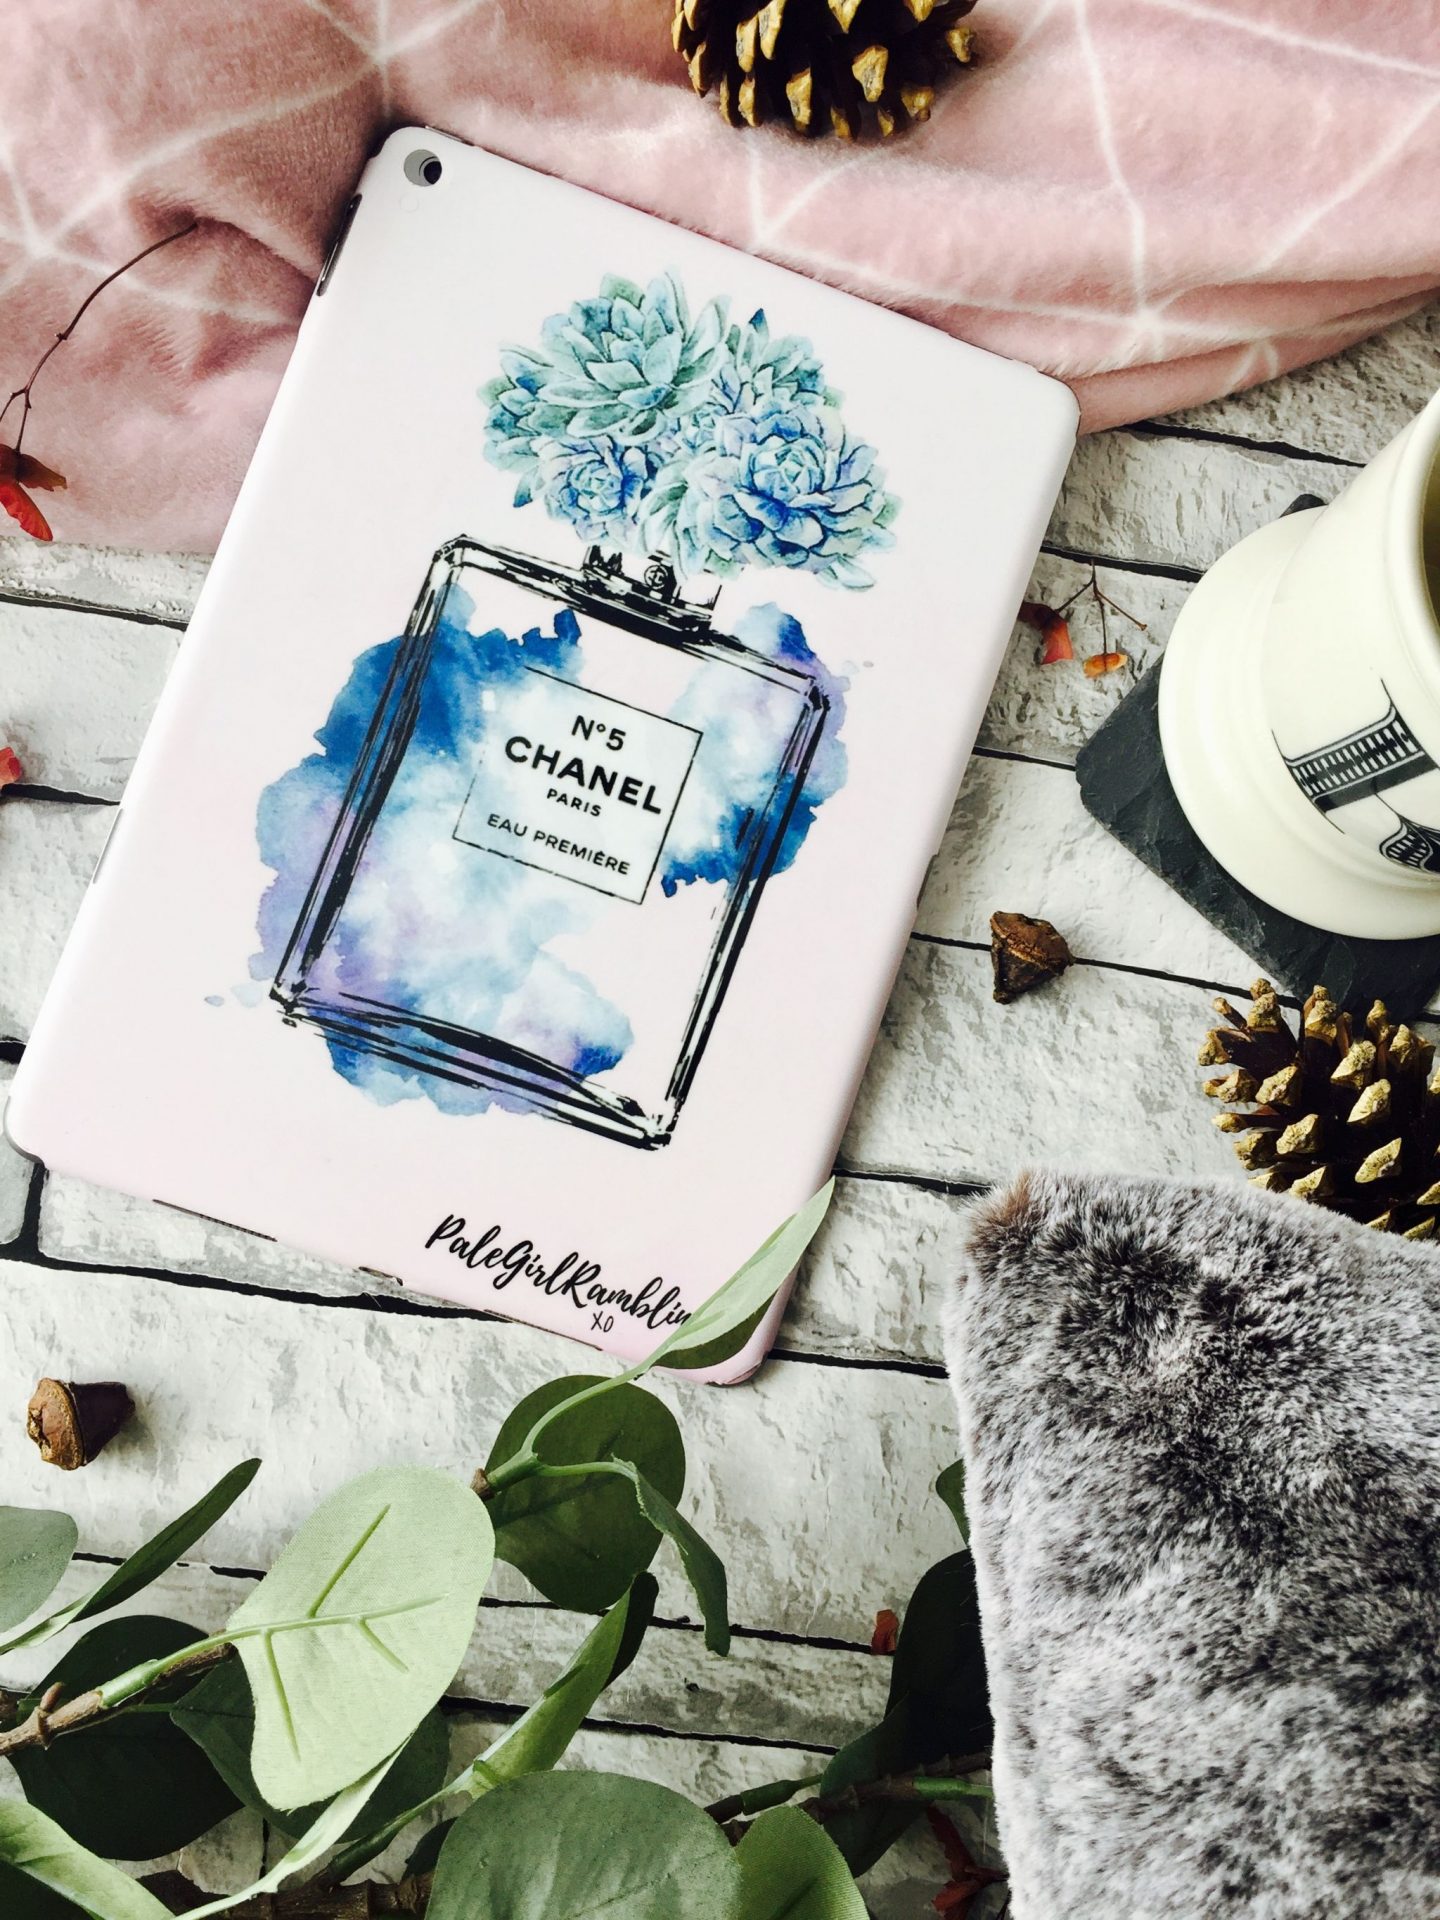
Another thing that really adds to a photo is props. They add dimension and texture to your photos. I love to use flowers, leaves, ribbons, other beauty products, plants. Obviously the type of props you use depends on the type of photo you’re taking. You should use objects that you’d expect to find together. For example you wouldn’t have a spoon beside a blush because they have nothing to do with each other. I always like to have a story to each photo, the photo below is all about reading blogs so I wanted to make it cosy looking as I like to cuddle up on my sofa with blankets and pillows, my iPad and a cup of ginger tea!
Lighting
Lighting plays I huge part in photography. I take all my photos in natural (but not direct) light. If you take photos in direct sunlight you have to fight with shadows (and trust me that’s not fun). If you take photos on a dull day or in the evening they’re likely to come out grainy. I never take photos with a light on, this creates a yellow hue and again, you get shadows. Find a space near a window to take your photos and take them on a solid object like a table or chair, something that means your wallpaper or other background won’t crease.
Editing
The final step after creating your gorgeous flat lay and taking 300 million photos and picking the best one is editing. I personally love bright and airy photographs so I love to brighten my photos. Colourstory is a great app, with some wonderful brightening filters. You can also use the edit function on an iPhone to up the brightness and colour of a photo. Just be careful not to over edit, especially if you have white objects on a white background as they can completely disappear. Over exposure isn’t a good look.
I hope some some of these tips were helpful. I have a whole section of blogger help posts if you’re looking for some more tips. Gemma Louise also has a great photography tips post!


Your flatlays are always so beautiful! I like how you add other decor and objects to enhance the products in your flat lay. You’re really amazing at picking things that go well together and tell a story, like you said.
Thanks for sharing al these tips! 😄
Such amazing tips Rach! I love how you theme your props based on the time of year, your Insta feed is so autumnal atm and I can’t wait to see your Christmassy flatlays!! 😍
Emma | emmadrury.com
great tips! i love your flatlays 🙂
Really needed these tips, you always take incredible photos and your Instagram is so beautiful. Thank you for sharing! xx
Janelle | https://thenellybean.com
These are such great tips – your flatlays are always so beautiful! Going to bookmark this to help me in the future, thank youu xxx
Your photos and editing is absolutely gorgeous! I don’t think I could stick with one background for everything as I love getting creative and experimenting and I definitely haven’t mastered the “flatlay” yet haha so this was really helpful! 🙂
Alice Xx
http://www.blacktulipbeauty.co.uk
Your photos are always stunning. Great tips x
Thank you, photo queen! I’ve been trying to up my blog photos lately and although I can see a huge improvement, I still hate them. I’m just not a natural photo taker but I’ll definitely be trying to adopt some of these!
i love those ideas
Love your blogger help posts, they are always doing what they are supposed to do: helping! 🙂 your pictures are always so pretty, it’s really nice that you are willing to share your tips and tricks. Thank you! S. xx
You take such beautiful photos, thank you so much for the advice and tips!! xx
Great post thank you! Your photos are really lovely. I’ve invested in the marble and wooden backdrops x.
Your flatlays are gorgeous! I’ve started doing flatlays myself, and I hope I get mine as good as yours. My biggest struggle is the lighting. I feel no matter what I do, I get shadows! It’s bananas. Thank you for these tips!
xx
Breanna Catharina
toocuteforlife.com
Great tips Rach, playing with props is one of my favourite things to do! xx
This is so useful. My flatlays are terrible usually 😔
Sophie
http://Www.glowsteady.co.uk
I love your brick background! It’s instantly recognisable and looks really great. I hate the fact it’s getting darker early these days as taking photos is a nightmare but us bloggers must keep going I guess xx
So many lovely tips, I love having a little stash of blog props to add to flatlays too! X
I loved this post! your flatlays look amazing, thank you for the tips!xx
-ROSEYGOLDBOX
http://www.roseygoldbox.blogspot.co.uk
Your flat lays are gorgeous 💕 I love the wallpaper in the background tip. I picked up a load of free samples from B&Q at the weekend to add to my photos 💛💜 xx
Bexa | http://www.hellobexa.com
Great post ☺️👌🏼 your flatlays look amazing, the design looks so clean!
Hi, your flatlays are amazing. Thank you for sharing some really helpful tips. I shall take a look at Colourstory
Totally not the point of this post but Chloe is one of my favourite perfumes! Your flatlays are beautiful though, and I think the background you use is really striking.
You always do such a great job of your flatlays! I think I might get some wallpaper its such a great idea! I’ve never heard of colourstay but I will have to give it a go I’m a big fan of VSCO Cam
Ellie
http://www.headintheclouds.me.uk
I love your brick background, tbh I’m tired of the marble one. I also love my wooden kitchen floor, it’s wonderful for flatlays 😀
I can’t believe you take your blog photos on your phone! They always look so professional, and I love the continuity you maintain between your social media accounts. This is such a great post, especially considering that your photography is some of my favourite amongst the bloggers I’ve come across – thank you for the tips!
Rachel | kyvbey.blogspot.com
Wow flatlay photography goals right there. What was just as awesome was when you told us that you take these on your phone woohoo! I’ve taken some of my best blog photos on my phone. These are some great tips, thanks you sharing!
It’s crazy how different a good background can make your blog photos look isn’t it? I love that brick background – it looks brilliant! x
Your flatlays are so gorgeous! All the pictures are amazing! I am loving your ipad cover! where did you get it from? xx corinne
One day I too will have the talent for a gorgeous flat lay! Thank you for this so I know that I can keep working at it. (:
Single Vegas Girl
http://singlevegasgirl.blogspot.com
Definitely helpful in these cold months where the lighting is terrible for blog photos! x
Morgan x
Amazing tips! You have such gorgeous photos xx
Carolina’s Makeup Life
These are great tips and the lighting is definitely key! I’m experimenting with playing with props at the moment, as I’m trying to up my flat lay photography game!xo
Char | http://www.charslittleblog.co.uk
It took me so long to become happy with my photos – I really think a decent camera helps! x
http://www.ofbeautyandnothingness.co.uk
I love your photos! I feel like I used the same background for a couple of weeks now and I’m getting sick of it! But I do get what you mean of it being the same over all your social media, everytime I see your photos on instagram or twitter I can always tell they’re yours! haha
Loved the post!! xx
http://www.dreamsandlashes.com
I’m really keen to spend more time working on my flat lays so this post is going in my bookmarks. Thank you so much for these super helpful tips! x
Some great tips thanks, pinning this to look back on later. Your photos are always stunning!
I discovered flatlays earlier this year …. and just love creating them, although not a beauty blogger. As well as ColorStory and Snapseed I use PicTapGo from an airy vibe
Your photos are stunning! Thanks for these great tips
I need to invest in some more props. I have a few different background that i like to use but just lacking in props! 🙁
Megan | http://www.mummyandharrison.co.uk
Your blog and Instagram photos are some of my absolute favourites so I loved reading this post from you as I know I can trust your advice! Your brick background also looks amazing and complements every photo! xx
http://www.imjustagirl16.co.uk
Your flat lays are taken on an iphone? I would of never of guessed! Thats amazing! Your photos always drag me into your post as they are amazing.
Heather xox || http://www.xhighlandbeauty.co.uk
This post was so useful and I love your flat lays!
Grace xx
gracexkate.blogspot.co.uk
I was so happy when I saw you did this post, you’re pictures always looks so good and I could always improve on mine.
Love these tips. I tend to stick to a wood or white background since it fits in with my theme and then I can insert colours in x
I’ve always been a fan of your photogrpaghy! I take my photos on my iphone too but mine never look as good quality as yours! x
These are great tips, especially about not having to break the bank with the backgrounds. Some of my favourite flatlays are on peoples duvet covers!
Jen
xxx
Thank you for a informative post.